How to install a wood-burning fireplace insert
If you love the look of a wood-burning fireplace but don’t have the space or budget to install a real wood-burning fireplace, consider installing a wood-burning fireplace insert instead. This easy DIY project will add warmth and beauty to your living room while still letting you save money on heating bills during the winter.
Choose your wood stove
The first step in installing the best wood burning fireplace insert is choosing your unit. There are many different styles of inserts available, and you want to be sure that you choose one that fits well in your existing space, meets local fire codes, and has sufficient output for your needs. For example, if you have an area with high ceilings, you may need an insert with higher-output burners than other models.
If your home doesn’t have masonry surrounding your current wood-burning hearth, purchasing inset models inside traditional fireplaces are also possible. Generally speaking, inserts have more flexibility in installation as they come with flue pipes and can be installed on top of an existing hearth without worrying about damaging its original construction.
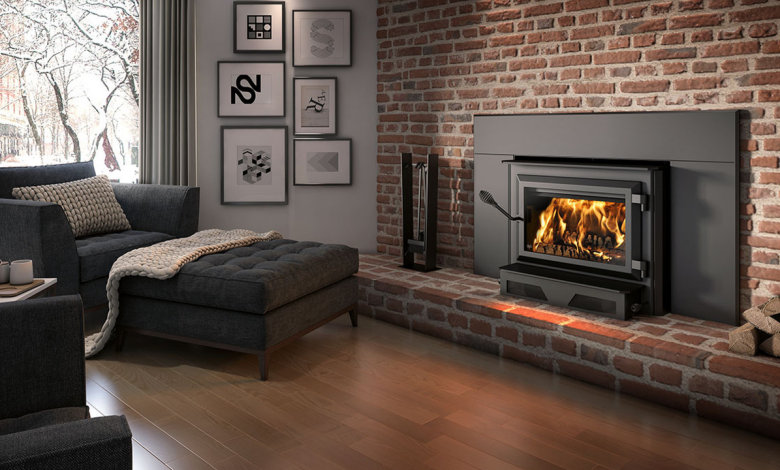
Consider where you will locate it.
Once installed, a wood-burning fireplace insert can be located anywhere you have an existing or new fireplace. There are many different types of inserts available on today’s market, which makes it possible for you to use them in your log cabin or home, whether you live in an area where there is plenty of heat and sunlight. You may choose a vent-free one so that you do not need to add any vents, one that has a blower for more efficient heating, or even one that has an automatic start. This can mean convenience all year long.
Prepare the area
Before you get started on installation, you’ll need to prepare your wood-burning fireplace for installation. That means disconnecting gas lines, electricity, and water lines if applicable. Use caution when working with gas lines; follow all local codes, and never work alone when working on gas installations. It also helps to have an extra set of hands available for lifting and holding during installation.
If you aren’t going it alone, it’s helpful if that person has experience in installing wood-burning fireplaces so they can help direct you in case there is any confusion along the way. And lastly, be sure your fireplace is level; otherwise, you won’t be able to install your fireplace insert later on properly.
Clean out your chimney
When you’re shopping for your wood-burning fireplace insert, you should also plan on purchasing new glass doors and at least one chimney cover. Of course, you can get them later—make sure that everything matches when you do. Even if your current chimney is in good shape, it will likely need to be cleaned out before you use it with your new wood-burning unit; typically, local fire codes require all new installations to be done with clean chimneys. If you don’t have an appointment to clean your chimney already (see step 3), add one! It’ll take about two hours for someone to come out and perform a complete cleaning, so factor that into your schedule.
Here are some other things you might want to consider:
- A wood-burning fireplace insert comes with installation instructions.
- Read these carefully before attempting any work yourself.
- The instructions include information about how much clearance you need around your wood-burning unit and specific instructions about how far away from combustible materials (such as drywall) it needs to be installed.
- It may also recommend using a different type of damper than what came with your old fireplace or suggest blocking off access to unused portions of your chimney entirely.
Prepare your new woodstove for installation.
Before you can begin installing your wood-burning fireplace insert, it’s important that you properly prepare your current wood stove. This is essential to maximize energy efficiency when using your new wood-burning fireplace insert. Before installing your wood-burning fireplace insert, we suggest disconnecting any existing ventilation ducts for natural gas or propane and any gas logs from your current wood stove and shut off power at any nearby electrical panels.
Now that you’ve successfully disconnected everything from your existing wood stove, it’s time to remove it from its installation location. You may have already done so in preparation for installing your new wood-burning fireplace insert. If not, we recommend removing your wood stove by first unplugging it from any nearby outlets or removing batteries from any remote controls.
Next, carefully lift your wood stove and move it away from its installation location. Once you’ve moved your wood stove away from where you plan to install your new wood-burning fireplace insert, set it down on a level surface (such as concrete) where there are no combustible materials underneath it. It’s now safe to begin preparing to install your new wood-burning fireplace insert! The first step in preparing for installing your new wood-burning fireplace insert is cutting out an opening into which you’ll be placing your unit.
Get help from a professional!
Because installing a wood-burning fireplace is significantly more involved than assembling your average piece of furniture, it’s probably a good idea to bring in some help. It’s best if you don’t do anything that requires power tools without someone who knows what they are doing; even something as seemingly simple as installing an electrical outlet can cause serious damage if done improperly.
Hire someone with experience or watch YouTube videos and read websites that provide step-by-step installation instructions of the gas fireplace. If you aren’t confident in doing things safely and adequately, hire an expert. Don’t take chances. You only get one chance at fixing mistakes. Get professional advice before attempting to install a wood-burning fireplace insert.