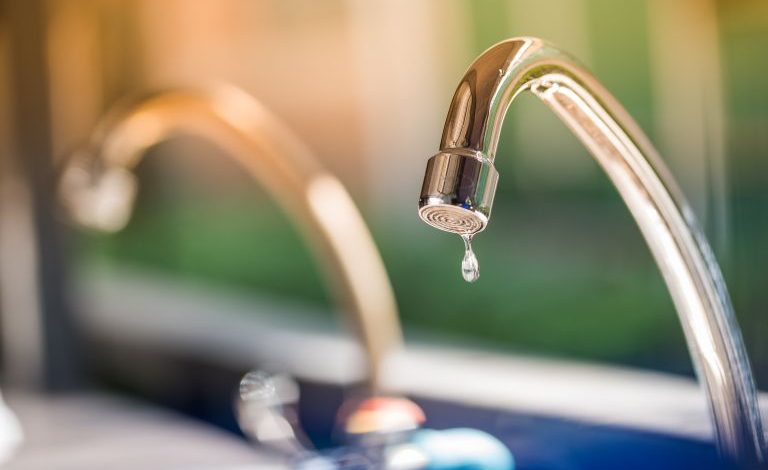
How to Fix A Dripping Tap – Easy Steps

If you’re like most people, you probably don’t enjoy the sound of a dripping tap. In fact, it can be downright annoying! But did you know that a dripping tap can also waste water and increase your utility bills? If you’re having trouble fixing a dripping tap yourself, don’t worry – we’ve got you covered. In this blog post, we will walk you through 11 easy steps to fix a dripping tap.
What You’ll Need:
- A Phillips head screwdriver
- A flat head screwdriver
- A wrench or adjustable spanner
- Pliers
- A new washer (the size will depend on your tap)
- Some Teflon tape (optional)
Let’s get started…
Step One: Turn Off the Water Supply. Before you do anything, you’ll need to turn off the water supply to your sink. This will help prevent any further damage and makes the whole process a lot easier.
Step Two: Remove the Tap Handle. Once the water is turned off, you can remove the tap handle. Just unscrew it with your hands or a Phillips head screwdriver. If you’re having trouble, try using a flat head screwdriver to loosen it up.
Step Three: Take Off the Index Cap and Cover Plate. With the handle removed, you should now be able to see a small index cap and cover plate. Use your wrench or adjustable spanner to remove these two pieces.
Step Four: Unscrew the Screws Holding the Valve in Place. Now that the index cap and cover plate are out of the way, you’ll be able to see two screws holding the valve in place. Use your screwdriver to remove these screws.
Step Five: Remove the Valve. With the screws removed, you can now take out the valve. Be careful not to lose any of the small parts!
Step Six: Inspect the Washer. The washer is a small rubber disc that helps create a watertight seal. Over time, it can become damaged or worn down, which can cause leaks. If you suspect that the washer is the problem, remove it and take a look at it. If it’s damaged, you’ll need to replace it with a new one.
Step Seven: Replace the Washer (If Necessary). To replace the washer, simply remove the old one and put in a new one of the same size. Make sure it’s seated properly and not too loose or too tight.
Step Eight: Reassemble the Tap. Once you’ve replaced the washer (if necessary), you can begin to reassemble the tap. Start by putting the valve back in place and screwing it in with your screws.
Step Nine: Put the Cover Plate and Index Cap Back On. With the valve in place, you can now put the cover plate and index cap back on. Use your wrench or adjustable spanner to tighten them in place.
Step Ten: Test for Leaks. Before you put the handle back on, it’s a good idea to test for leaks. Turn on the water supply and let some water run through the tap. If there are no leaks, you’re good to go.
Step Eleven: Put the Handle Back On. The last step is to put the handle back on. Just screw it in place with your hands or a Phillips head screwdriver. And that’s it – you’ve successfully fixed your dripping tap.
We hope you found this blog post helpful. If you have any questions or comments, feel free to leave them below. Dripping taps are not only annoying but can also waste a lot of water and increase your utility bills.
What are the most common causes of a dripping tap?
The main causes of a dripping tap are:
- A defective washer
- A buildup of debris or rust
- A loose connection
- damage to the valve seat
If you have a dripping tap, it is important to identify the cause so that you can fix it properly. Dripping taps can waste a lot of water and cause your water bill to go up. If you are not sure what is causing your dripping tap, you can always call a Emergency plumber Paisley for help.
Dripping taps are annoying, but fortunately, they are usually easy to fix. In most cases, all you need is a new washer or to tighten the connection. However, if the problem is more serious, you may need to replace the valve seat. If you are not sure how to do this, you can always call an Emergency plumber Paisley for help.
How can I prevent my taps from dripping in the future?
dripping taps are one of the most common plumbing problems. They can be caused by a variety of factors, including worn washers, loose faucets, and high water pressure.
While a dripping tap may seem like a minor issue, it can actually waste a lot of water and increase your utility bills. In addition, dripping taps can damage your sink or countertop and create stains over time.
If you have a dripping tap, there are a few things you can do to fix it. First, try tightening the faucet’s handle. If that doesn’t work, you may need to replace the washer or the entire faucet.
You can usually find replacement parts at your local hardware store. If you’re not comfortable making repairs yourself, you can always call a plumber. With just a little bit of effort, you can stop your dripping tap and avoid future problems.
Is it worth fixing a dripping tap, or should I just replace it?
The answer depends on a number of factors. First, consider the cause of the dripping. If it’s simply a worn washer, then a quick fix by a plumber may be all that’s needed.
However, if the problem is more serious, such as a corroded valve seat, then replacement may be the best option. Second, think about the age and condition of your tap. If it’s an old model that is starting to show its age, then replacement may be the best option.
However, if your tap is still in good condition, then repair may be possible. Finally, consider the cost of the repair or replacement. In most cases, it will be cheaper to repair a dripping tap than to replace it altogether. So there you have it: the decision of whether to repair or replace a dripping tap is one that should be made based on a number of factors.


